前回の続き Go言語での開発を試してみる 〜調べる編〜 で調べたものを組み合わせて実際に Go 言語を使って Web システムを作ってみようと思います。今回はフレームワークの起動までです。
開発環境構築
OS は Windows 10 にて行っていきます。
Go 自体のバージョン
この前入れた通り下記で行こうと思います。こちらもそこまで意味は無いです。
> go version
go version go1.10.3 windows/amd64
開発エディタ
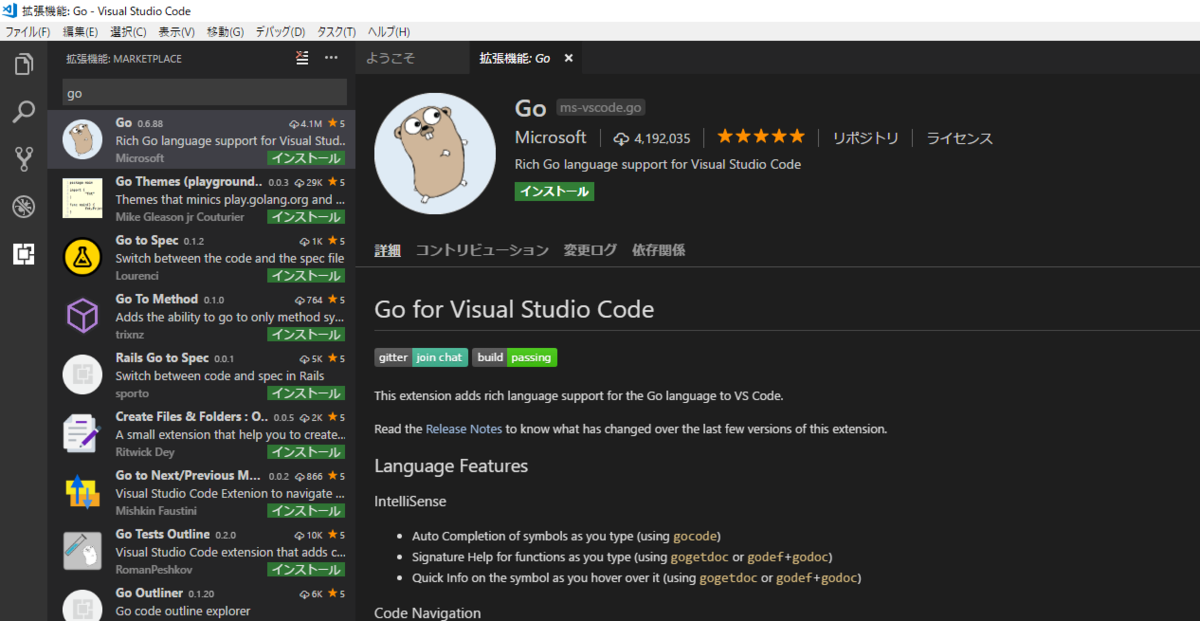
特に選定したわけではなく、普段使い慣れている Visual Studio Code を使って開発をしようと思います。
とりあえず拡張機能をインストール
Ctrl + Shift + p でコマンドパレットを開き、 Go: Install/Update tools を実行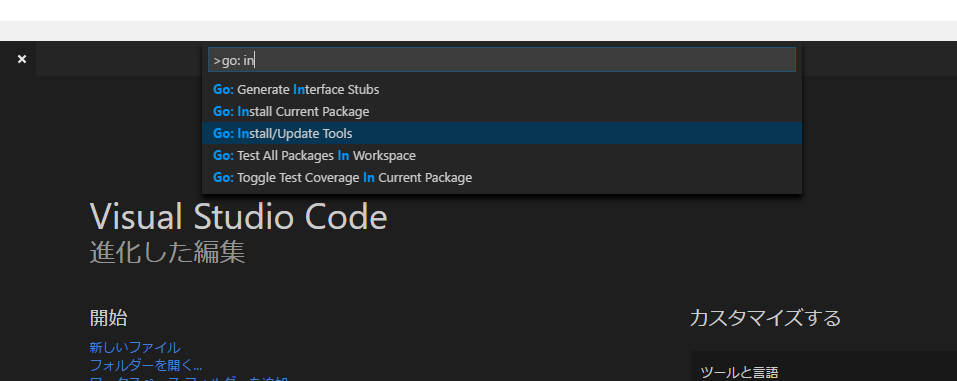
ツールをインストールしていきます。
    Installing github.com/nsf/gocode SUCCEEDED
    Installing github.com/uudashr/gopkgs/cmd/gopkgs SUCCEEDED
    Installing github.com/ramya-rao-a/go-outline SUCCEEDED
    Installing github.com/acroca/go-symbols SUCCEEDED
    Installing golang.org/x/tools/cmd/guru SUCCEEDED
    Installing golang.org/x/tools/cmd/gorename SUCCEEDED
    Installing github.com/fatih/gomodifytags SUCCEEDED
    Installing github.com/haya14busa/goplay/cmd/goplay SUCCEEDED
    Installing github.com/josharian/impl SUCCEEDED
    Installing github.com/davidrjenni/reftools/cmd/fillstruct SUCCEEDED
    Installing github.com/rogpeppe/godef SUCCEEDED
    Installing golang.org/x/tools/cmd/godoc SUCCEEDED
    Installing github.com/sqs/goreturns SUCCEEDED
    Installing github.com/golang/lint/golint SUCCEEDED
    Installing github.com/cweill/gotests/... SUCCEEDED
    Installing github.com/derekparker/delve/cmd/dlv SUCCEEDED

    All tools successfully installed. You're ready to Go :).
これらがインストールされました。
すると。。。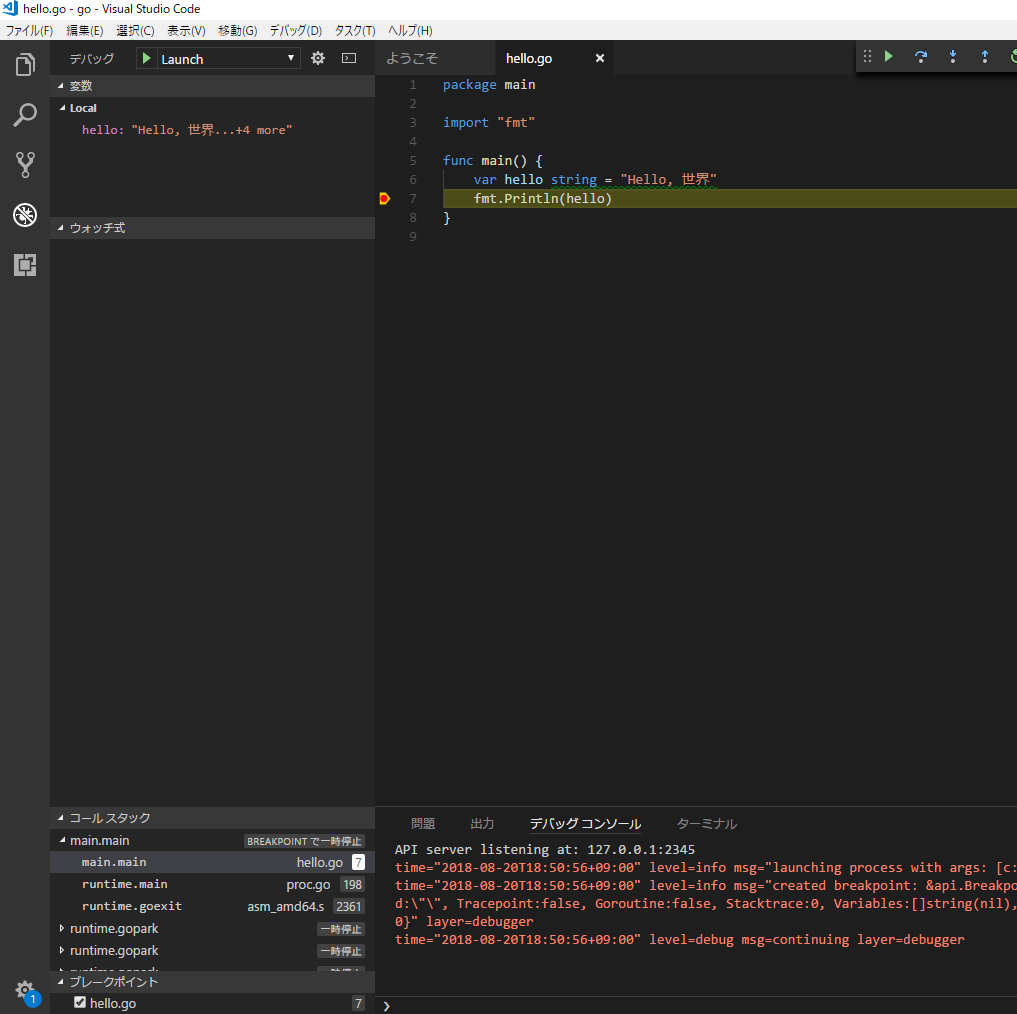
わーすごい!色もついたしブレイクポイントを設定して F5 を押すことでデバッグもできるようになりました!
-
若干詰まった点
-
setting.jsonを作業ディレクトリ配下に置き下記のようにgopathを設定しなければいけないようです{ "go.gopath": "/path/to/go/src/beegotest" }
-
こんな感じにフルパスで指定してあげるとインストール直下以外でも動きました。
実際にやってみた
それではここから本格的な(とはいっても大層なものを作るわけではないですが)開発に入って行こうと思います。
せっかくなので前回調べた中のフレームワークを使ってみようと思います。
今回は GitHub上の Star 数が一番多いという理由だけで beego を使ってみようと思います。
パッケージ管理
特にこだわりがないのでパッケージ管理は dep を使おうと思います。vgo (Versioned Go) も公式ではありますがまだ人類には早いという噂を聞いたので無難な選択をしますw
とりあえず go get で取得し、init して ensure で /vendor 配下にパケージをダウンロードするように設定します。
> go get -u github.com/golang/dep/cmd/dep
> dep init
> dep ensure
どのコマンドもうんともすんとも言わず不安ですが、指定したフォルダの配下に下記ができていれば大丈夫のようです。
> dir

    ディレクトリ: go\src\beegotest

Mode                LastWriteTime         Length Name
----                -------------         ------ ----
d-----       2018/08/20     19:32                vendor
-a----       2018/08/20     19:32            222 Gopkg.lock
-a----       2018/08/20     19:32            655 Gopkg.toml
-a----       2018/08/20     19:20             55 settings.json
beego インストール
dep の準備が整ったら実際に beego をインストールしていきましょう。
> dep ensure -add github.com/astaxie/beego
Fetching sources...

"github.com/astaxie/beego" is not imported by your project, and has been temporarily added to Gopkg.lock and vendor/.
If you run "dep ensure" again before actually importing it, it will disappear from Gopkg.lock and vendor/.
bee ツールもご一緒に
> dep ensure -add github.com/beego/beeと思ったんですが、どうやら依存関係のせいで dep でインストールができませんでした。。。
しかたがないので go get で取得します。ソースコードとしては直接関係ないのでまぁ問題ないと判断します。
> go get github.com/beego/bee無事インストールできました
> bee version
______
| ___ \
| |_/ /  ___   ___
| ___ \ / _ \ / _ \
| |_/ /|  __/|  __/
\____/  \___| \___| v1.10.0

├── Beego     : Beego is not installed. Please do consider installing it first: https://github.com/astaxie/beego
├── GoVersion : go1.10.3
├── GOOS      : windows
├── GOARCH    : amd64
├── NumCPU    : 4
├── GOPATH    : C:\Path\to\go\
├── GOROOT    : C:\Go\
├── Compiler  : gc
└── Date      : Monday, 20 Aug 2018
プロジェクト作成
適当に bee ツールにてプロジェクトを作成してみます。
> bee new haruch
______
| ___ \
| |_/ /  ___   ___
| ___ \ / _ \ / _ \
| |_/ /|  __/|  __/
\____/  \___| \___| v1.10.0
2018/08/20 20:13:05 INFO     0001 Creating application...
        create   C:\Path\to\go\src\beegotest\haruch\
        create   C:\Path\to\go\src\beegotest\haruch\conf\
        create   C:\Path\to\go\src\beegotest\haruch\controllers\
        create   C:\Path\to\go\src\beegotest\haruch\models\
        create   C:\Path\to\go\src\beegotest\haruch\routers\
        create   C:\Path\to\go\src\beegotest\haruch\tests\
        create   C:\Path\to\go\src\beegotest\haruch\static\
        create   C:\Path\to\go\src\beegotest\haruch\static\js\
        create   C:\Path\to\go\src\beegotest\haruch\static\css\
        create   C:\Path\to\go\src\beegotest\haruch\static\img\
        create   C:\Path\to\go\src\beegotest\haruch\views\
        create   C:\Path\to\go\src\beegotest\haruch\conf\app.conf
        create   C:\Path\to\go\src\beegotest\haruch\controllers\default.go
        create   C:\Path\to\go\src\beegotest\haruch\views\index.tpl
        create   C:\Path\to\go\src\beegotest\haruch\routers\router.go
        create   C:\Path\to\go\src\beegotest\haruch\tests\default_test.go
        create   C:\Path\to\go\src\beegotest\haruch\main.go
2018/08/20 20:13:05 SUCCESS  ? 0002 New application successfully created!
いろいろと自動作成されました。
起動
それでは早速起動します!
> cd haruch
> bee run
______
| ___ \
| |_/ /  ___   ___
| ___ \ / _ \ / _ \
| |_/ /|  __/|  __/
\____/  \___| \___| v1.10.0
2018/08/20 20:16:35 INFO     ? 0001 Using 'haruch' as 'appname'
2018/08/20 20:16:35 INFO     ? 0002 Initializing watcher...
beegotest/vendor/github.com/astaxie/beego/config
beegotest/vendor/gopkg.in/yaml.v2
beegotest/vendor/github.com/astaxie/beego/utils
beegotest/vendor/github.com/astaxie/beego/logs
beegotest/vendor/github.com/astaxie/beego/grace
beegotest/vendor/github.com/astaxie/beego/session
beegotest/vendor/github.com/astaxie/beego/toolbox
beegotest/vendor/golang.org/x/crypto/acme
beegotest/vendor/github.com/astaxie/beego/context
beegotest/vendor/golang.org/x/crypto/acme/autocert
beegotest/vendor/github.com/astaxie/beego/context/param
beegotest/vendor/github.com/astaxie/beego
beegotest/haruch/controllers
beegotest/haruch/routers
beegotest/haruch
2018/08/20 20:16:40 SUCCESS  ? 0003 Built Successfully!
2018/08/20 20:16:40 INFO     ? 0004 Restarting 'haruch.exe'...
2018/08/20 20:16:40 SUCCESS  ? 0005 './haruch.exe' is running...
2018/08/20 20:16:40.951 [I] [asm_amd64.s:2361]  http server Running on http://:8080
起動した!!!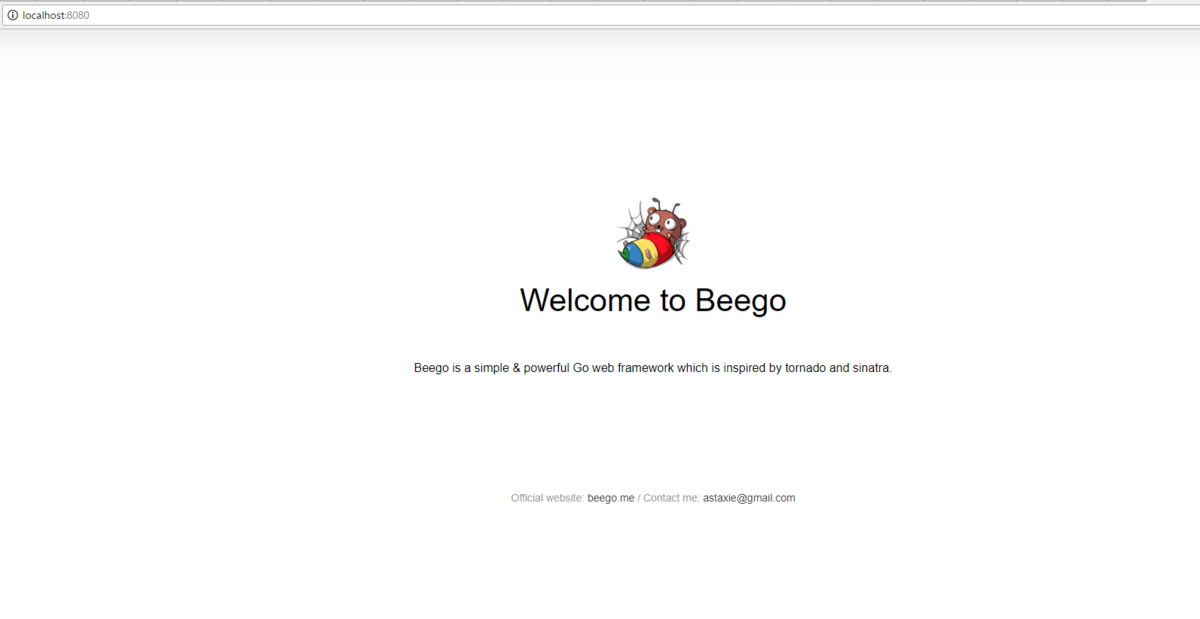
試しにいじってみる
普通の自動生成されたファイルを眺めてみると、普通の MVC フレームワークのようなので試しに View を編集してみましょうか。
/views/index.tpl というファイルを開いてみると想像通り html ファイルが入っていました。
なので下記のように編集してみます(抜粋)
    <body>
      <header>
        <h1 class="logo">haruhikonyan 参上</h1>
        <div class="description">
          go 及び beego を試してみてるマン
        </div>
      </header>
      <footer>
        <div class="author">
          Official website:
          <a href="http://{{.Website}}">{{.Website}}</a> /
          Contact me:
          <a class="email" href="mailto:{{.Email}}">{{.Email}}</a>
        </div>
      </footer>
      <div class="backdrop"></div>

      <script src="/static/js/reload.min.js"></script>
    </body>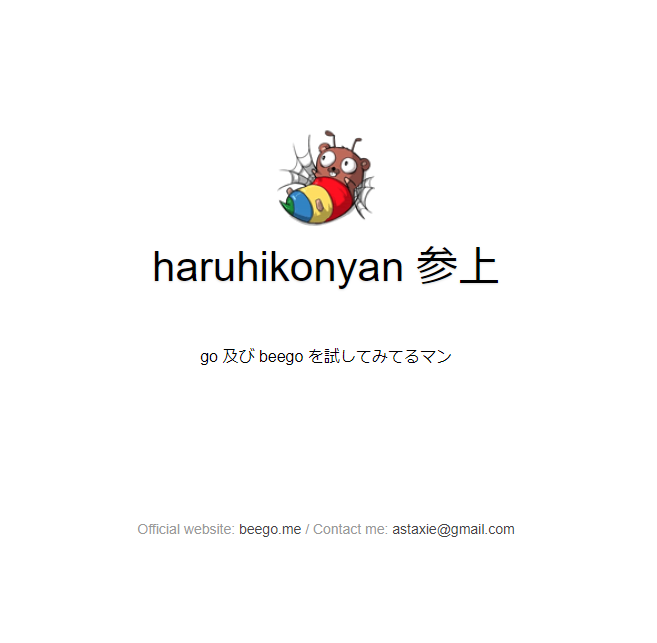
無事編集できたのと、ライブリロードこそ対応してないものの、ソースを保存してブラウザを更新すればサーバの再起動無しにコードは反映されました。本日はこれくらいで。
まとめ
まだまだ Go言語たるものの真髄には全然触れられてはいないとは思いますが、 VSCode でのエディタの整備も特に苦も無く整備でき、デバッグ環境もすぐ整えられました。また、ちょこっと試してみた Go の Web フレームワークである beego も Rails のようなフルスタックフレームワークも体感的には Ruby で開発環境を整えるよりも楽に行えた気がしたのでこれはアリだなと思いました。
次回はこの beego を使ってもっと Web サービスっぽくするのと、他の機能も使ってみようと思います。
関連記事
beegoで実装した掲示板サービスの Go言語を読む|その1
beegoで実装した掲示板サービスのGo言語を読んでみる|その2